
This one's not exactly a valentine, but I will be using this with MY valentines so it works, right?. I took a Brown & Haley (the best!) almond roca tin that was destined for the recycle bin and upcycled it into a bucket list keeper. I can't wait to start putting all of our must-dos in here and, more importantly, I can't wait to start those adventures with my two loves.
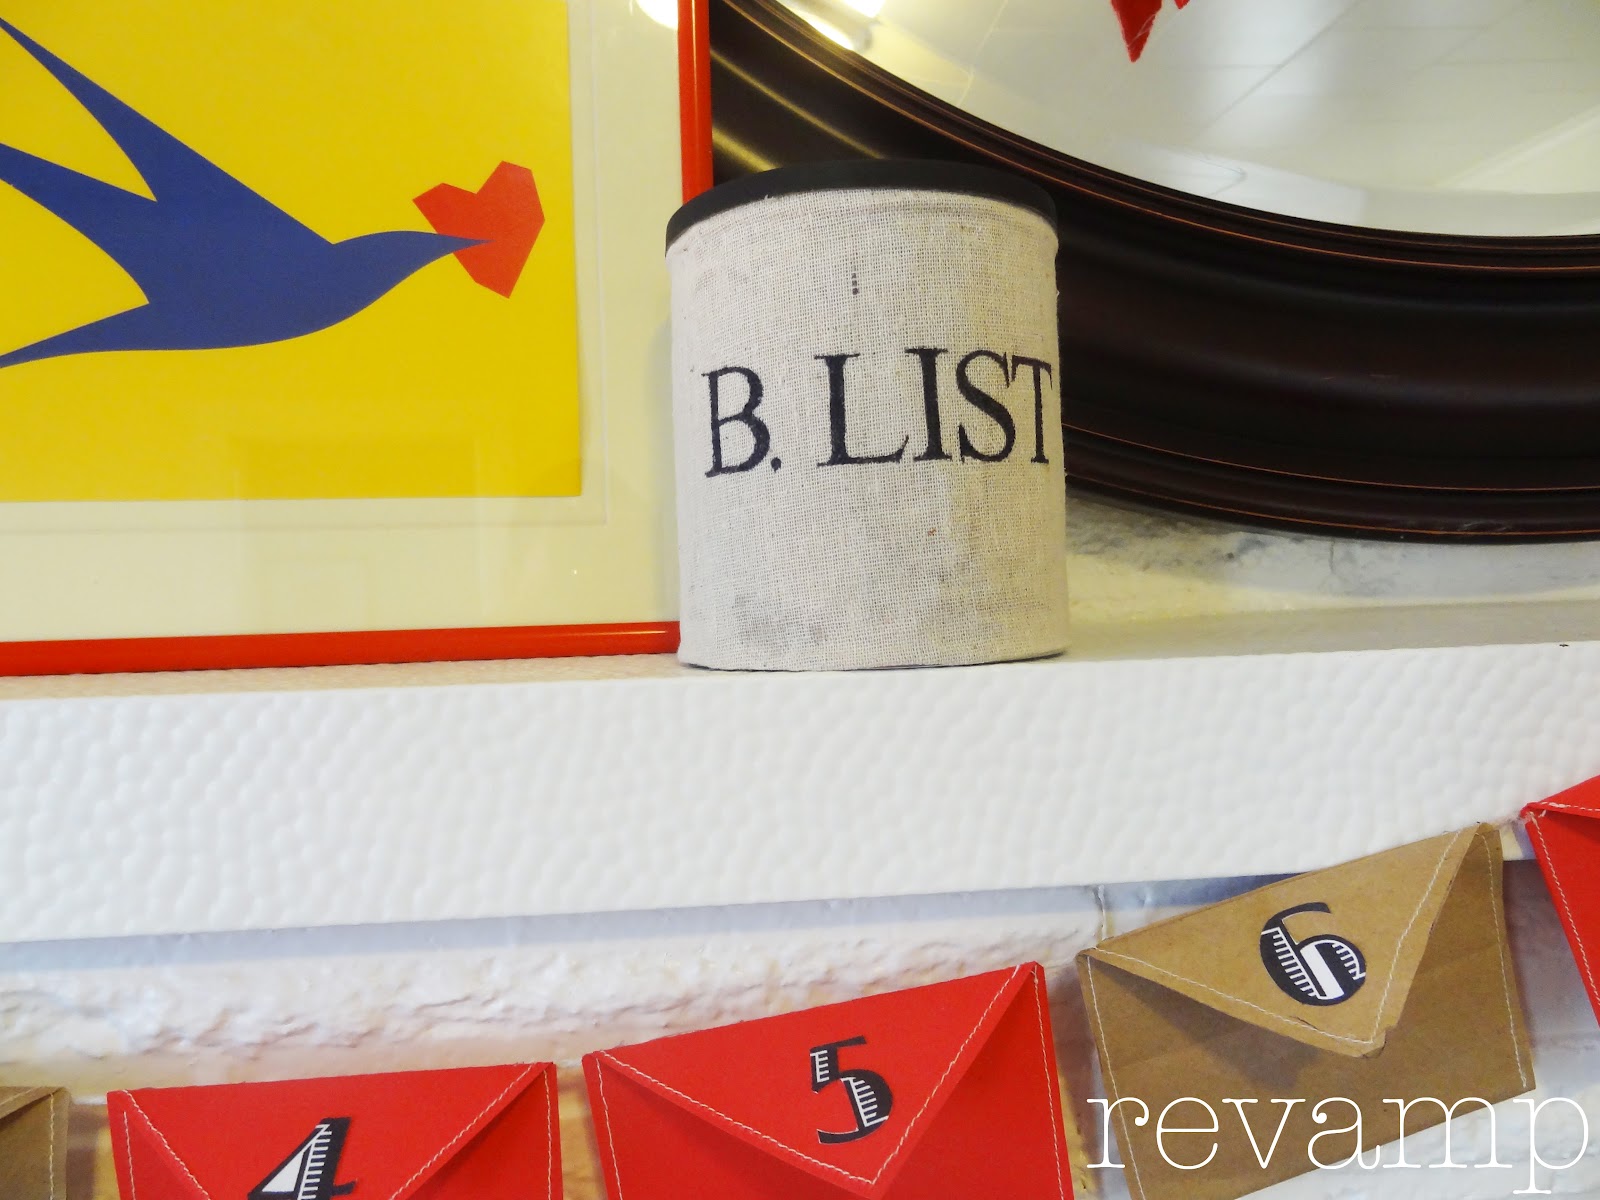

And here's how I transformed a candy can into a keeper of dreams.
Save an old candy can or any container with a lid from the landfill.

Cut a deposit slot in the top.

Cut out a piece of fabric to wrap around the can. (I used a more sheer fabric so I made a base layer out of a lunch bag, which means I had to glue those two pieces together.)


Break out your stencil and call it whatever you want.


Glue it to the can and you're done (unless you want to spray paint your lid, like me.)

Now drop in those bucket items! My first will be to travel to Europe.
Day 5 down, 9 to go! (What was I thinking?!)
How cute! I'm going to have to make mine bigger, I have a big bucket list!!
ReplyDeleteWhat an absolutely wonderful idea! Visiting from Sunday's Best...Drop by for a visit! I'm your new friend through LINKY!
ReplyDeleteVery cute!! Love the actual bucket for your list!
ReplyDelete{HUGS},
kristi
A really cute idea. Since I have a big bucket list I will be making one a little bit bigger. This could be used for so many different things. Thanks for showing us how. Thanks for sharing all your creative inspirations at Sunday's Best Par.tay!
ReplyDeleteLove it! Adorable! I think the burlap fabric looks so good with the stenciled letters! Great job!
ReplyDeleteMelody
ChattyChics.com