A budget-friendly DIY & lifestyle blog

Friday, December 2, 2011

DIY // How To Make a Felt Owl Beanbag

Are you all crazy about owls like the rest of the design world?  I know I am, but then again, I've always loved those curious creatures.

My first owl project was designing a baby announcement for my friend.  And then I was hooked.  I was searching out owl projects like they were going out of style.  Wait, are they going out of style?!

My Owl Barn, "for all owlovers," has oodles and oodles of owl goods & projects, like their uber-popular Owlovers Calendar, and my next victim project was just sitting there staring me in the face, an owl bean bag.  The perfect little stocking stuffer for the little guy who loves to test out his pitching arm.  I'd much prefer a soft bean bag being fired at my head as opposed to blocks.


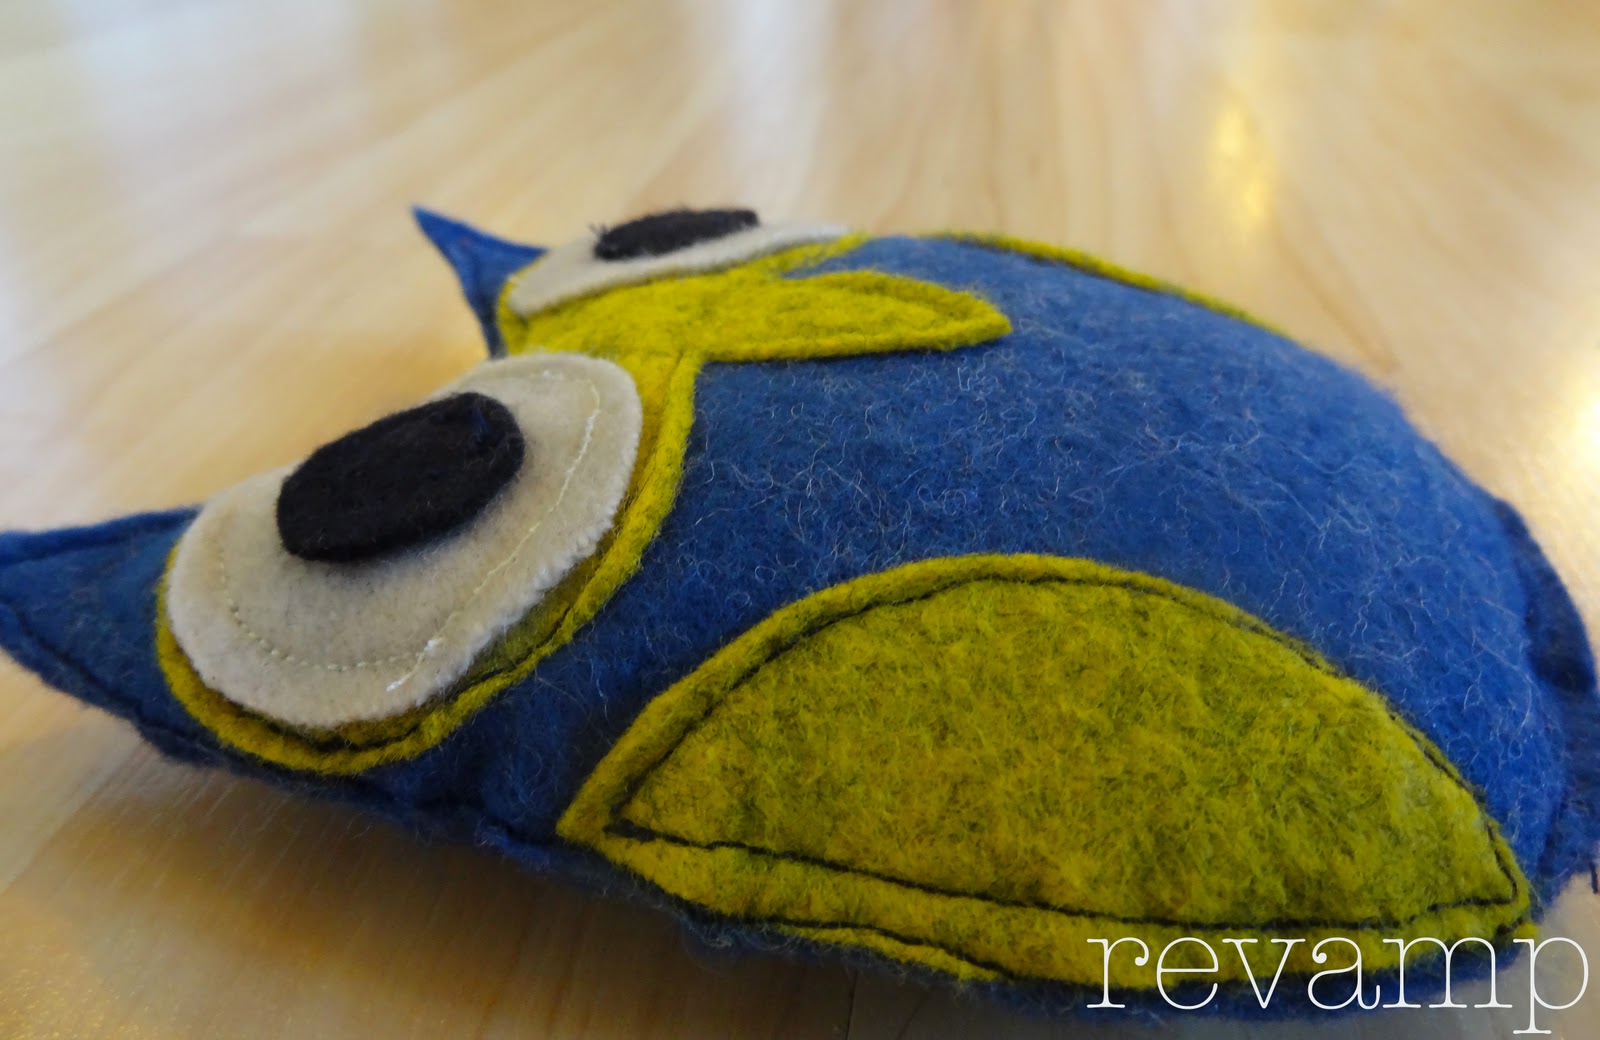
Just try to avoid his gaze...

 The Owl Barn offers great instructions, but I thought I'd do a little step by step guide in photos.  Here it goes...

Supplies:
  • Felt (in corresponding colors)
  • Thread
  • Template

Steps 1-2:  Cut out template then use template to cut out each piece.  Remember that you will need two of everything except for the Face and Beak (Piece B.)


Steps 3-4:  Sew eyes to face.  First start by sewing the small eye piece to the larger eye piece.  Repeat with second set of pieces.  Then sew both sets to the Face and Beak piece.  (You can either hand stitch like the Owl Barn shows or use the sewing machine, like me.  My apologies folks, for my less than stellar sewing job.  No excuses.  Just some shoddy craftsmanship.  It's still cute, right?)


Step 5:  Sew wings onto the body.


Step 6:  Sew face onto body.


Now you have completed the front (and hopefully it looks better than mine!)


Step 7:  Pin the back to the front piece.


Step 8:  Sew bodies together as close to edge as possible.  Leave a small space at the bottom to allow for filling.  (Marked by pins above.)


Step 9:  Fill with dry beans.  (I used rice.)


Steps 10-11:  Pin ends together and sew.


And that's it!  Your (or someone special's) very own owl beanbag.  A perfect stocking stuffer.


So, what's on your handmade christmas list?

SHARE:

4 comments

  1. I love owls! this is so cute! Thanks for linking up to Totally Inspired Tuesdays!!

    ReplyDelete
  2. oooooh! I like your owl! I may have to make one :)

    In case you might be looking for any more owl projects, I have one you might like.

    http://growcreative.blogspot.com/2011/07/owl-magnets.html

    ReplyDelete
  3. Thank you so much for sharing your creativity and talent on "A Little Birdie Told Me..." Tuesday at Rook No. 17!

    Friends who link-up to tomorrow’s party will have a chance to win a $25 gift certificate to Hodgson Mill, so please feel free to stop by and join in the fun & inspiration!

    Warmest wishes,
    Jenn


    P.S. I'm spotlighting your post on my Facebook page today!

    ReplyDelete
  4. I love this! Thanks for sharing!

    ReplyDelete

Thanks so much for taking the time to leave a comment!

If you enjoyed this post, feel free to hang out awhile and catch up on all of our DIY projects - or better yet, Subscribe and get future articles delivered right to you. Cheers!

© Revamp Homegoods. All rights reserved.
Blogger templates by pipdig
09 10 Code line 7 9 is for loading jQuery library. Remove this line if you’ve already loaded it somewhere else in your blog. Hint: If your blog has an image slider, carousel or something with fading effect running, chances are it is powered by jQuery. If this widget doesn’t work, the first thing you want to do is comment out or remove this line. To use your own button, replace the URL in line 3 with the direct link URL to the image. Make sure to keep the quotes. To reposition the button, replace