

I broke out some painters tape and two gallons of OOPS paint from Home Depot one in a semi-gloss white and the other in an eggshell gray and painted large stripes on the walls. Once I got the gray on
the walls it was looking more baby blue, so with a little custom tinting by yours truly I had it the perfect neutral blue-gray. And then I busted out another can of OOPS paint in a high-gloss black and some grout to make my own chalkboard paint for the wall in the back. This update was super budget-friendly - it only cost me $21 for the three cans of OOPS paint (TIP: Always check your local hardware or paint stores for mistakes. They're often marked down to a fraction of the cost and you can mix it to a more favorable color like I did here.) Now all that needs replaced is that BROWN carpet!


Posters from local events like the longboard surfing competition in Pacific City and local concerts, in addition to the Octopus Triptych I painted, adorn the walls.
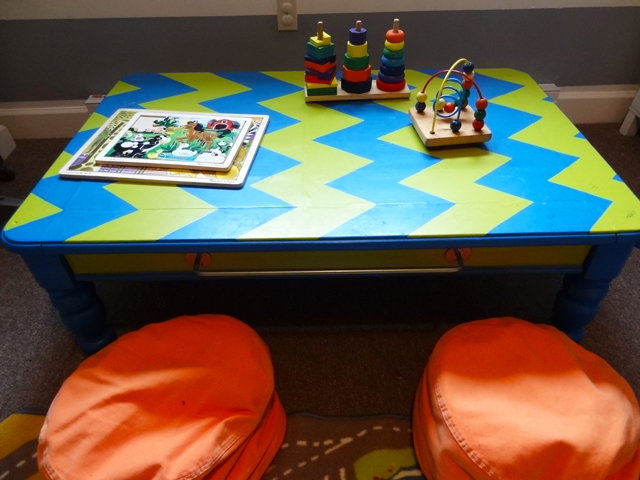
The vintage dresser, which was his Grandma's, got an update with Behr's Glacier Lake. An old coffee table leftover from my college days got transformed into an activity table with an Ikea Bygel rail mounted along the side to hold art supplies, a paper roll holder mounted on one end and a fun chevron pattern in Behr's Glacier Lake and Behr's Rolling Hills. To keep magnets off the fridge and from falling on the kitchen floor, I mounted a magnetic board from Ikea above his desk and another Ikea Bygel rail below to hold art supplies and chalk. The multitude of fabric bins hold his growing collection of toys - keeping the clutter out of sight.


Check out the complete transformation ~ video style!
Stay tuned for two great how-tos via Houzz (1: How-to Make Chalkboard Paint and 2: How to Paint Perfect Stripes.)
So what do you think? I know I've said this before but it's amazing what a little paint will do, right?
this looks SO great! genius to buy the oops paint!
ReplyDeleteRight on! And for a few bucks! Well done, Momma!
ReplyDeleteSo cute, LOVE this!!! Your site is adorable, found you through GFC blog hop!
ReplyDelete-Julie
http://www.thechirpingmoms.com
Super cute room, I love the mini bean bags!
ReplyDeleteThat is such a great idea to buy oops paint! Why have I not done that before? I'll have to remember that ;) Loving that chalkboard wall too! I'd love if you shared this at my Throwback Thursday link party. http://www.hubbymademe.com/throwback-thursday-no-3/
ReplyDeleteHope to see you there! Great job! And thanks for sharing. :)