If you're keeping up with me on Instagram you might have caught this photo back in February. In the words of my favorite uber-dork...."Did I do that?" Seriously, ever since I saw the throwback reference on New Girl I can't stop

So you know when everything in your being tells you not to do something and you ignore your smarter self and do it anyway? Like car surfing or drinking that outdated milk? That's exactly what happened here. Apparently I was in a "I also like to live dangerously" kind of mood when I was cleaning up our mudroom and leaned an old window against the door. It was safely leaning on the wood parts, until I nudged it out of the way and CRASH! - broken glass.
After cleaning up and removing the remaining glass shards from the door, we used painters tape to close up the opening. Then it stayed that way for months....I just couldn't find a glass company in our area. I finally tracked down Thorseness Glass in Astoria and bought a replacement piece of safety glass for only $7.
Repairing the door was easy as pie. Get the full run-down in my latest Houzz ideabook, How to Repair A Broken Glass Door Pane.
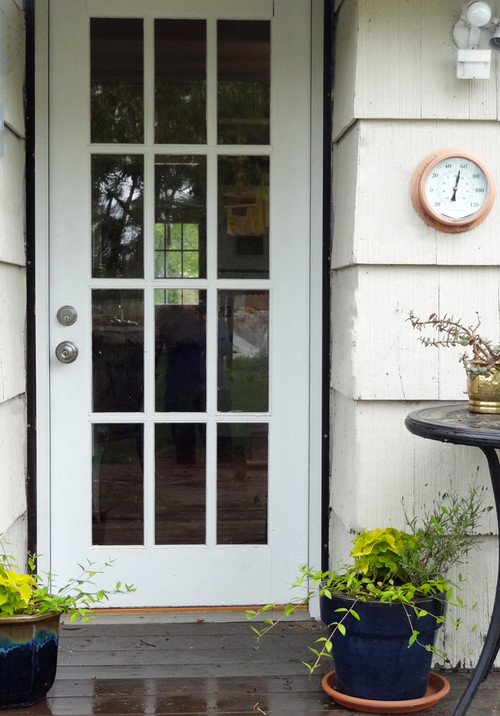
Unfortunately, last weekend Luke got a little rough playing baseball in the house and broke the pane right below the one we just fixed. So, back to Thorseness I go....perhaps a glass pane door isn't the best for our rough and tumble crew?
Disclaimer: As a Contributor for Houzz, I have been compensated for any Ideabooks featured on Houzz, although I am not compensated for sharing Houzz Ideabooks on Revamp Homegoods. All opinions expressed here are that of the writer and are in no way influenced by Houzz.
No comments
Post a Comment
Thanks so much for taking the time to leave a comment!
If you enjoyed this post, feel free to hang out awhile and catch up on all of our DIY projects - or better yet, Subscribe and get future articles delivered right to you. Cheers!