Both the roofline & the alcove made our choice pretty limited. The roof on the back half of the house slopes dramatically so our door can only be 76.5" tall, which means any standard size (80" tall) doors are out of the question. And while I was dreaming of getting rid of that alcove and fitting a pair of french doors back there, it's just not in our budget. What else isn't in our budget? Having to order a custom door because of our size restrictions. So, what's a DIY team to do? Customize a salvaged wooden door of course!
I drug Josh down to my favorite store in Astoria, Vintage Hardware, to check out their supply of doors. For any of you that don't know me, I am a history junkie so the fact that VH is in the old lobby of the historic Astor Hotel AND is a salvaged goods store has me in a euphoric daze whenever I step foot inside. They have an amazing selection of old, revamped and new wares and their styling skills are outrageously awesome. If you are EVER on the western most tip of Oregon and you love home decor and salvaged goods you HAVE to stop in.
Words can't even describe how amazing this place is so here's a little photo montage for your viewing pleasure. These are not my photos, as I mentioned I'm always in a dream-like state when I am inside so I can't ever seem to remember to break out my camera...thanks to all of you who do!
 |
| {VIA} |
 |
| {VIA} |
| {VIA} |
See what I'm saying? Paul & Becky have some serious skills. Anyways, back to the door...
When we first set out to find our door (pre structural surprise) we had three criteria that the door had to meet - it had to be 32" wide, it had to have glass so we could see out of it into the back yard and it had to be solid wood so we could cut it down to the right height. We really wanted a multi-lite door, but there were none in stock at the time, so we were left with only two single glass pane doors (top half glass - bottom half wood) to choose from. We toyed with the idea of converting whichever door we chose into a dutch door like this, but I couldn't ever get Josh as excited as I was about it. We went back home without a purchase with the intent of making a decision over night and picking up one of those doors the next day. And then we discovered all of the fun stuff that needed to be done prior to purchasing the door. So the hubs got to work on the back.
Fast forward a few months and thank god we waited to purchase anything that first trip because Josh found the PERFECT door when he went in and it was only $135. The single pane doors ran around $80, but you just can't beat a door like this...
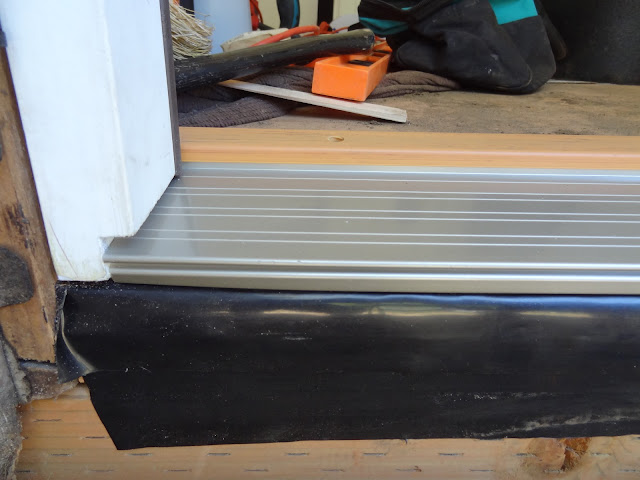
And after two days of work, we folded up the black plastic and hung the door.
The door, while still pretty rough looking, was sure better than the previous door & the temporary plastic sheet. After some more sanding and a coat of Zinsser Bullseye Primer, I gave the door a couple coats of off-the-shelf Behr white satin exterior paint on the outside and off-the-shelf Behr white semi-gloss interior paint on the inside. I am not a big fan of taping so I chose to scrape over tape. I know what you're thinking, the scoring and scraping probably takes more effort than taping...but it's just the way I'd rather work so a little extra effort ain't no thang.
And whaddya know? After all the paint was removed from the glass this door looks pretty spectacular.
I love the light it brings into the room and the fact that I can actually see what's going on in the backyard. And from the outside, it just looks so much more welcoming and finished looking. Once we open up the mudroom to the kitchen and nook this room is just going to be amazingly light and airy and a nice entrance into the home as opposed to it's closed off closet-like feel that it currently has going on.
And just when I thought the end was here, my sweet little artist got a little too creative.
Oh what blessings children are!
So what about you guys? Have you tackled the job of replacing or painting a door? Hate taping as much as I do? Or even better, have any tips on removing sharpie (besides the obvious...painting over)?


What an remake - for the door and the entryway! Well worth all of the hard work! Isn't it amazing how little things can change the overall look so much??
ReplyDeleteThanks Bronwyn! I am in love with this door!
DeleteLooks great--what a wonderful addition! I believe painting over the artwork would be best, but be sure to get a pic of the artist by his/her masterpiece!
ReplyDeleteChildren ARE a blessing aren't they! ;) Mr. Clean Magic Erasure is a mamas best friend.
ReplyDeleteI have an old door just like this one! :) Try a Magic Eraser on the marker/art work. It usually works on everything!
ReplyDelete