
Michelle's grandparent's sofa, an item overflowing with sentimental value and lacking any actual monetary value, had made its way through the family after her grandparents' passings and she was the next in line to take ownership. The sofa was originally purchased in 1971 and had gotten an update with a striped fabric in the 80s. Rather than keeping it in its retro state and subjugated to the basement, Michelle knew that this sofa, with its clean lines and a few updates, could be a key piece of furniture in her own home.
After a pretty stressful trip home in a rickety truck, she delivered it straight away to her trusted upholstery team. She sketched reupholstery instructions for the team, ordered a rich gray mohair from Pollack and ordered the gray satin welt fabric from Pindler & Pindler. The plan was to make the arms more tailored, remove the skirt, change the sofa cushions and, of course, apply the new gray fabric.

The upholstery team updated the arms with a more tailored look.

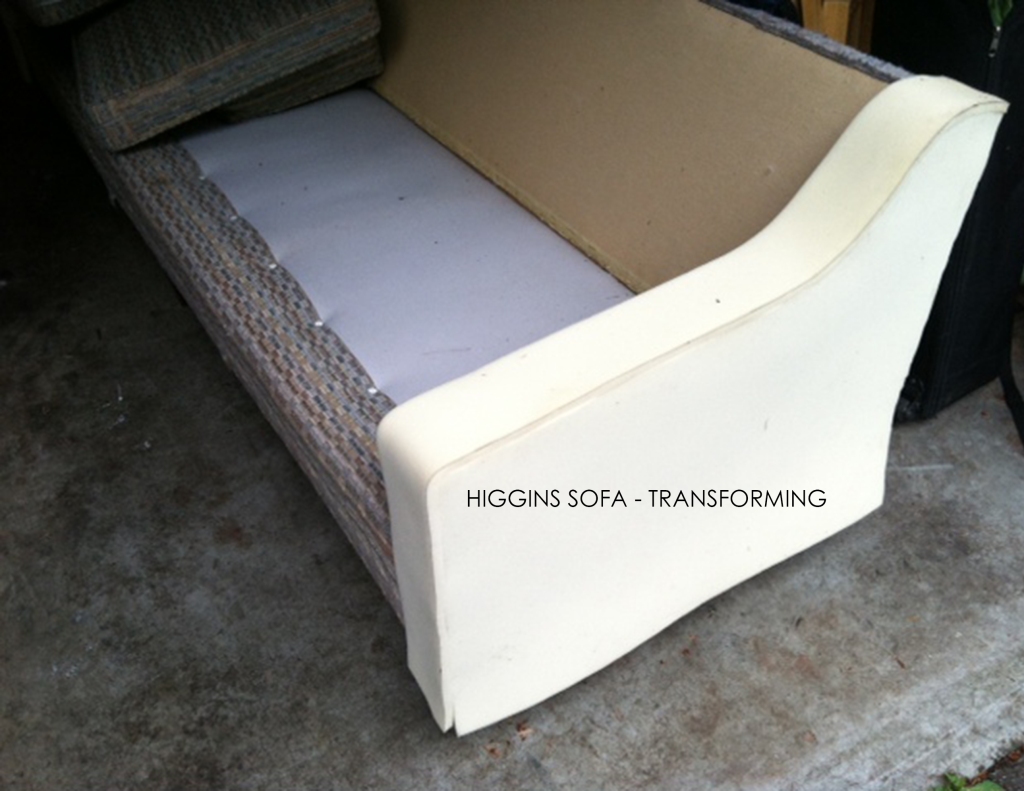
Since the sofa is rather large, Michelle decided to go with more piping along the arms and on the front of the sofa. The front piping/welt also helps to hold the fabric in place when someone is sitting on the sofa.

After all of the changes, the sofa has finally made it’s way back into Michelle's home. It's amazing that she's been able to keep this piece in the family and even more amazing that she made it her own.


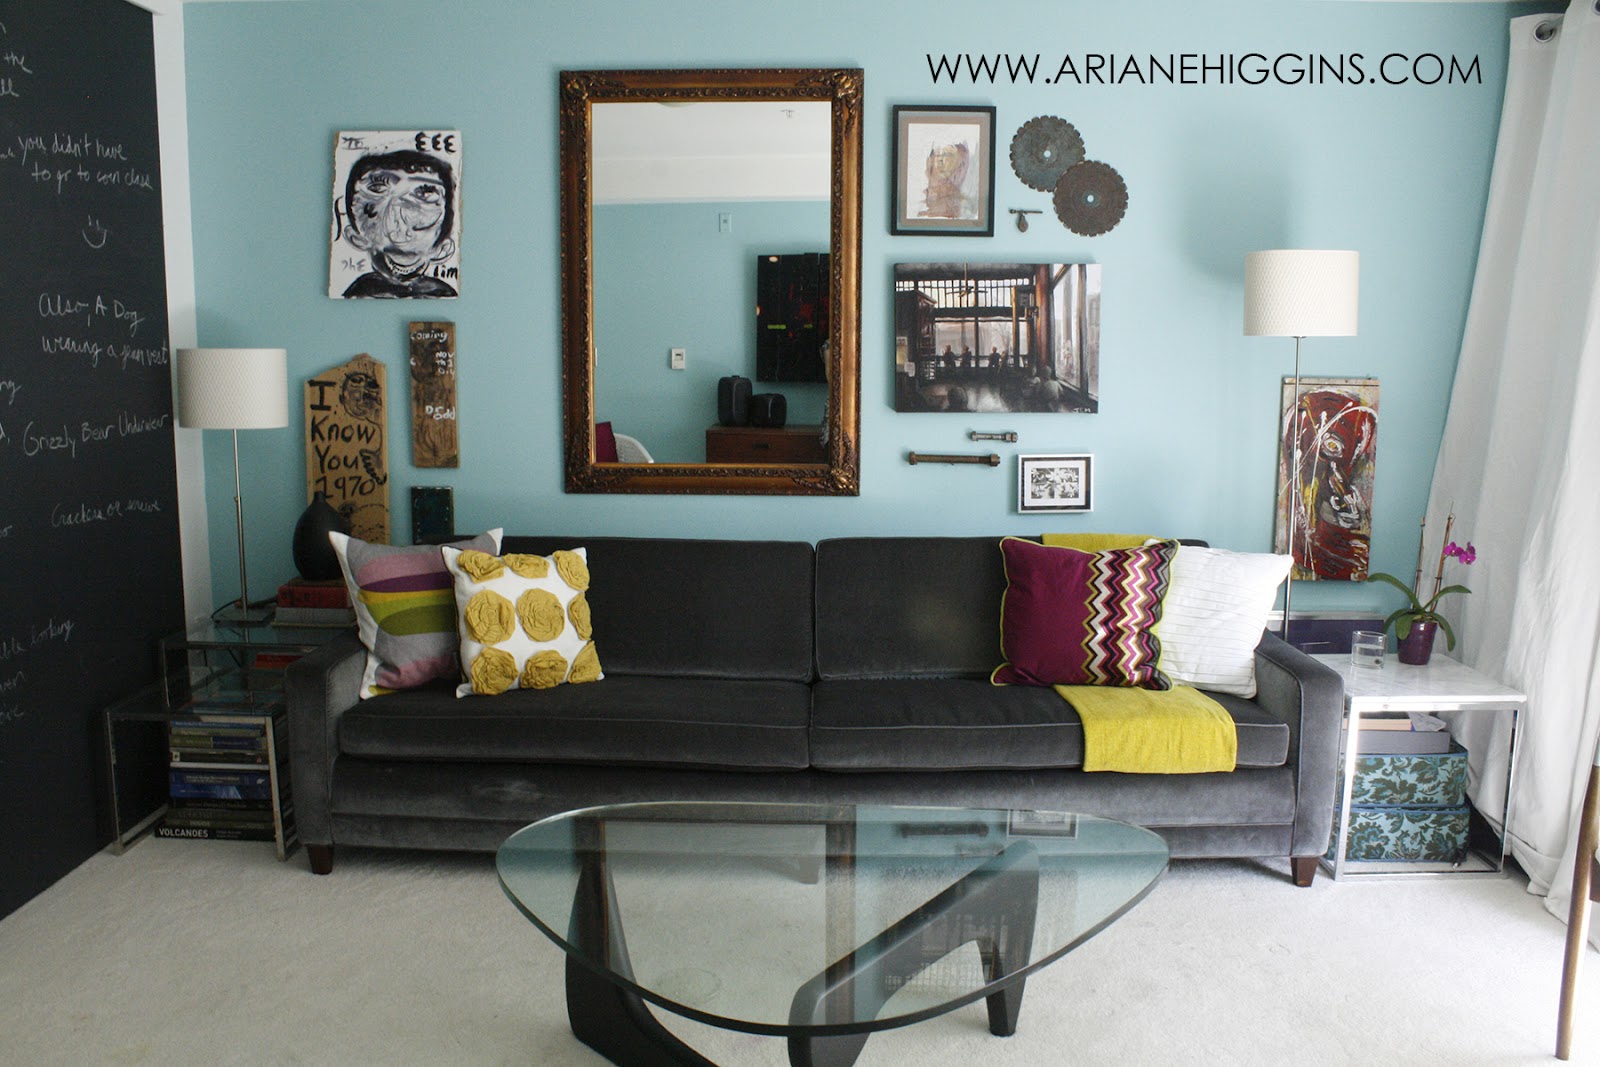
I am absolutely in love with this sofa transformation and am contemplating sneaking into her home and stealing it while we're up in Seattle this weekend. Think she'd notice? This piece is classic, inviting and oh so sexy.
Amazing re-design, check. Was this a completely budget friendly redo? Well, let's crunch some numbers.
1380 labor
1300 labor
135 back foam
243 seat foam
30 dacron
Does $3200 sound like a bargain to you? For most, probably not. If you take into consideration the size of the sofa (remember, 8 feet!) and the high-end quality of the upholstery fabric in addition to the solid construction of the furniture a similar version selling at a retail store could hit pretty close. BUT, that brand new piece doesn't have the same history, character and sentiment that this family heirloom does. In my humble opinion, I think it's a great investment for a piece that will continue to be passed from one family member to another. Although, I highly doubt Michelle is going to be passing it along any time soon.total with tax 3240.76
For more amazing designs by Michelle Dirkse, check out her newly developing furniture and home accessories line at Ariane Higgins.
From Humble Beginnings to Striking Conclusions.
Ariane Higgins combines fresh new ideas with vintage and tradition to create unique custom furniture and home accessories. - Michelle Ariane Higgins DirkseNow if this little trash to treasure transformation doesn't get your wheels turning and inspire you to to keep your hand me downs and transform them to suit your home's decor and personal taste then, frankly, I don't know what will.
Nice! That is an awesome transformation and it looks great! I wouldn't want the before couch but the after couch totally!
ReplyDeleteI love furniture transformations, and it doesn't always have to be expensive. I picked up a sofa at an estate sale for $75, had the cushions replaced and had it reupholstered for only $350. (I didn't change the style as I was looking for vintage.) It all depends on where you live and where you go, so check around!
ReplyDelete