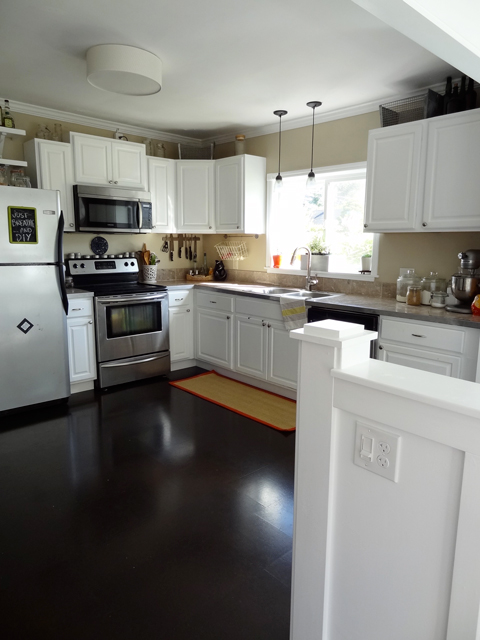
While I can't show you photos of the new mudroom and kitchen nook space since we're just getting started on that project (wink, wink...nudge, nudge) I can show you photos of our kitchen which includes new flooring, crown molding and our new Moen Woodmere faucet. And if you remember WAY back in early 2012 we tackled the bulk of the work in this room which included:
- Removing the header, taking the walls down to the studs and installing new drywall
- Mudding & sanding drywall
- Painting the cabinets white
- Priming/Painting the drywall
- Installing/Raising the cabinets
- Painting wallpaper
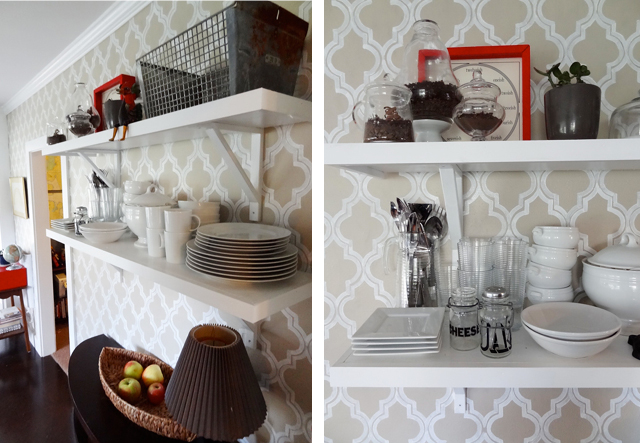
- Adding open shelving
- Adding wall storage
- Updating the kitchen lighting
- Adding open shelving above the refrigerator
And without further ado...

Let's just take a quick look back at what the kitchen looked like when we moved in...wallpapered walls and soffit, oak cabinets, maple-ish laminated floors, white appliances, vinyl backsplash and boob lights galore. Not the worst kitchen I've ever seen but I knew it could be better. At the very least we could fill that huge gap where the bottom cabinets end on the far right.

The floors are Forna Flooring's Black Beach - a gorgeous espresso colored cork from iCorkFloor.


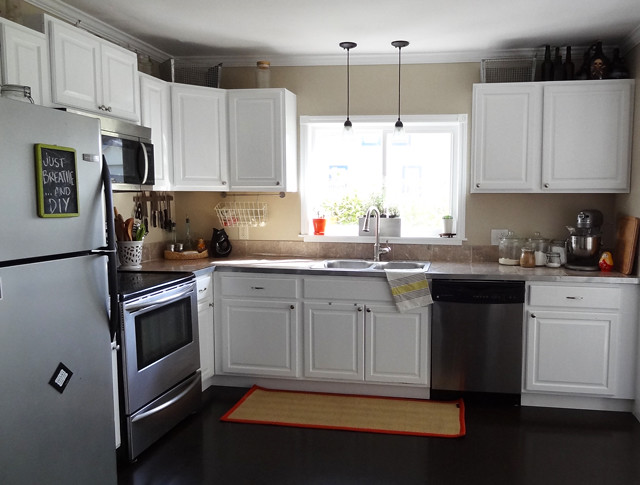
This gorgeous Moen Woodmere faucet was a breeze to install. Check out how I tackled that project here.


I can't wait to share the whole dang space because it's pretty freaking amazing (like the little glimpse above) but you'll just have to be patient...as in really patient. I think it'll be a few more weeks before our big ol' reveal post.
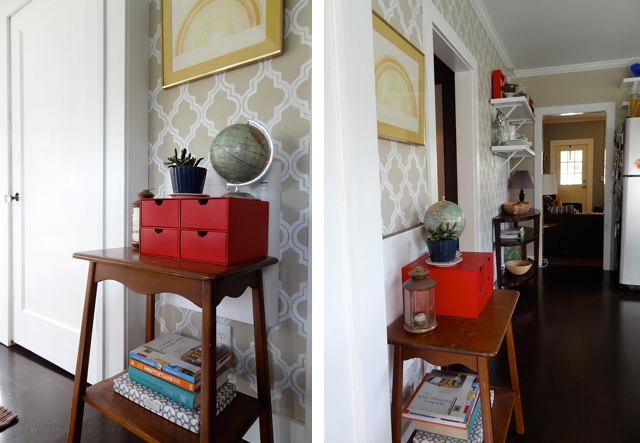
We're still planning to build a few custom storage pieces for the kitchen, like this piece from Ana-White, which will sit underneath the open-shelving. I pulled our Crate and Barrel Galerie console table out from storage after I sold the buffet that was there but it just doesn't work storage-wise. We've also been tossing around the idea of building an island with a butcher block countertop (like this but more open) which will give us a little more counter space and additional seating.
So what do you guys think? Quite a difference from the orangey-hued room when we first moved in, right?
Looks so much better than the starting kitchen! Looks like you've done a lot of work there!
ReplyDelete